
What is the best beginner Mirrorless Camera to get on a budget? What are some things to look for and what do all these camera spec numbers and letters mean? What should I get for under $1000 to start off? This beginner DSLR or Mirrorless camera buying guide will help you answer these questions.
I’ll first explain what all the specs mean, then give you some recommendations on gear you could buy. Here’s a table of contents you can click to jump to the relevant sections:
*Please note that I’ll put my affiliate links to products in this article so that if you decide to use them to make a purchase, I get a little commission from the sale at no cost to you.
I often get questions about camera gear from friends and family seeking recommendations and advice. You want to get something that’s going to give you better pictures or video than what your cellphone can achieve and have an interchangeable lens mount for more lens options, but you’re also not looking to break your bank account.
I understand that for someone outside of the world of professional photography and videography, all the jargon, numbers and lingo can be confusing when you’re just getting started. So, I’ve intentionally tried to write this with beginners in mind and avoid the complicated jargon.
Beginner Mirrorless Camera
For most beginners today, you can go with either a DSLR camera or a mirrorless camera. The differences within the entry-level of these cameras are not huge and mainly have to do with the form factor of the cameras. DSLR cameras will tend to be a bit bigger and may fit bigger hands better. Mirrorless cameras will tend to be slimmer and more compact – which may be better for portability. Mirrorless cameras also are a newer technology than DSLRs and would be what I recommend to most people. The big advantage for these types of cameras instead of point-and-shoot cameras or your phone cameras is the ability to buy different types of lenses for them. This is why they’re called interchangeable-lens cameras.
1. UNDERSTANDING A BEGINNER MIRRORLESS CAMERA SPECS
There are a lot of numbers and specifications that go into camera bodies and camera manufacturers love to boast about them. However, these numbers can be confusing and not mean a whole lot to people who are unfamiliar. Each different spec also affects different aspects of photography and the price of the camera body as well. So, here are the five most important specs you need to know when considering a beginner mirrorless camera.
a. Megapixels (MP)
The amount of Megapixels (abbreviated as MP) a camera body has determines how big (large) the photo files that it produces. More megapixels means that you’ll get bigger photos with higher resolution images, and fewer megapixels means that the photos will be smaller. Simply put, if you’re primarily taking photos for use online on social media or the web, then you don’t actually need a lot of megapixels. However, if you want to print your photos in a large format (bigger than an 8″ x 10″ print), then it may be worth spending more for a camera with more megapixels.
Think of Megapixels as a number telling you how big you can print your photos without them getting pixelated.
To give you a general idea, if you have a 12 MP camera, you can print images up to 11″ x 14″ with perfect quality. This is usually more than enough for the average person who prints photos at home on printers that use standard 8.5″ x 11″ letter size paper (Remember that most small photos are 4″ x 6″ or 5″ x 7″, and most table-top frames are 8″ x 10″). With a camera that has 24 MP, you could print a poster at 16″ x 24″ and still get really good quality. That’s far bigger than most people can print at home!
A lot of entry-level cameras these days will give you anywhere from 18MP to 26MP. This is usually more than enough for most people’s needs as a hobbyist.
PLEASE NOTE: Higher megapixels do not automatically mean your photos will be better quality. It just means the photo size will be bigger. So, if you take a bad blurry photo with a high-megapixel camera, it just means that you will have a very large bad blurry photo.
I’d only recommend going higher than this if you know that you’re going to be doing large prints or posters, cropping into your photos a lot, or you really want to pay the extra for the bragging rights. If you’re only using your photos for web or social media, even something as low as 10MP might be enough for your needs. It’s better to save money on megapixels and spend it on better lenses.
For most beginners, I’d recommend getting a camera with 18 to 25 MP. That will be more than enough for most people’s needs and you can upgrade the body later if needed.
b. Sensor Size
Here are the 3 most common sensor sizes you’ll see on camera bodies in order of their size from smallest to largest:
- Micro 4/3 sensors [smallest size]
- Crop-Sensor (also called APS-C) sensors [medium size]
- Full Frame sensors [largest size]
The larger the sensor, the more light it can read and the higher-quality image you’ll get from it. This is because the sensor can capture more light from the scene you’re taking a photo of to generate the image. It also means that it will be able to take brighter pictures, even in lower-light situations – which is great if you take a lot of shots in dimly lit environments or at night.
Another advantage of bigger sensor sizes is what’s called the “Depth of Field” effect. What’s that?

Depth of Field is the technical term for what most people call the “blurry background” effect – where your subject is in focus and the background is nicely blurred out with the bokeh balls. This is one of the biggest things that makes the images you get out of your phone camera look different from the images from a DSLR or mirrorless camera. The sensor size of your camera body is one of the factors that determine this (we’ll cover the other factor later). So, a full-frame camera sensor will give you the most depth of field and capture the most light, followed next by the APS-C camera sensor, and lastly, the Micro 4/3 sensor is the smallest.
The larger the sensor, the more light your camera will capture, the more depth of field you’ll get in your photos and the better the low light performance.
For most beginners, I would advise to get a camera with an APS-C sensor. It’ll be the best balance between cost and quality.
c. ISO
This is related to the image sensor and is usually written as a range of values (e.g. ISO 100 to 12800). This has to do with how sensitive the camera’s sensor is to light. Generally speaking, the lower the ISO value you take your picture at, the less noisy (grainy) your pictures will be. So, why not take all photos at a low ISO, you ask?
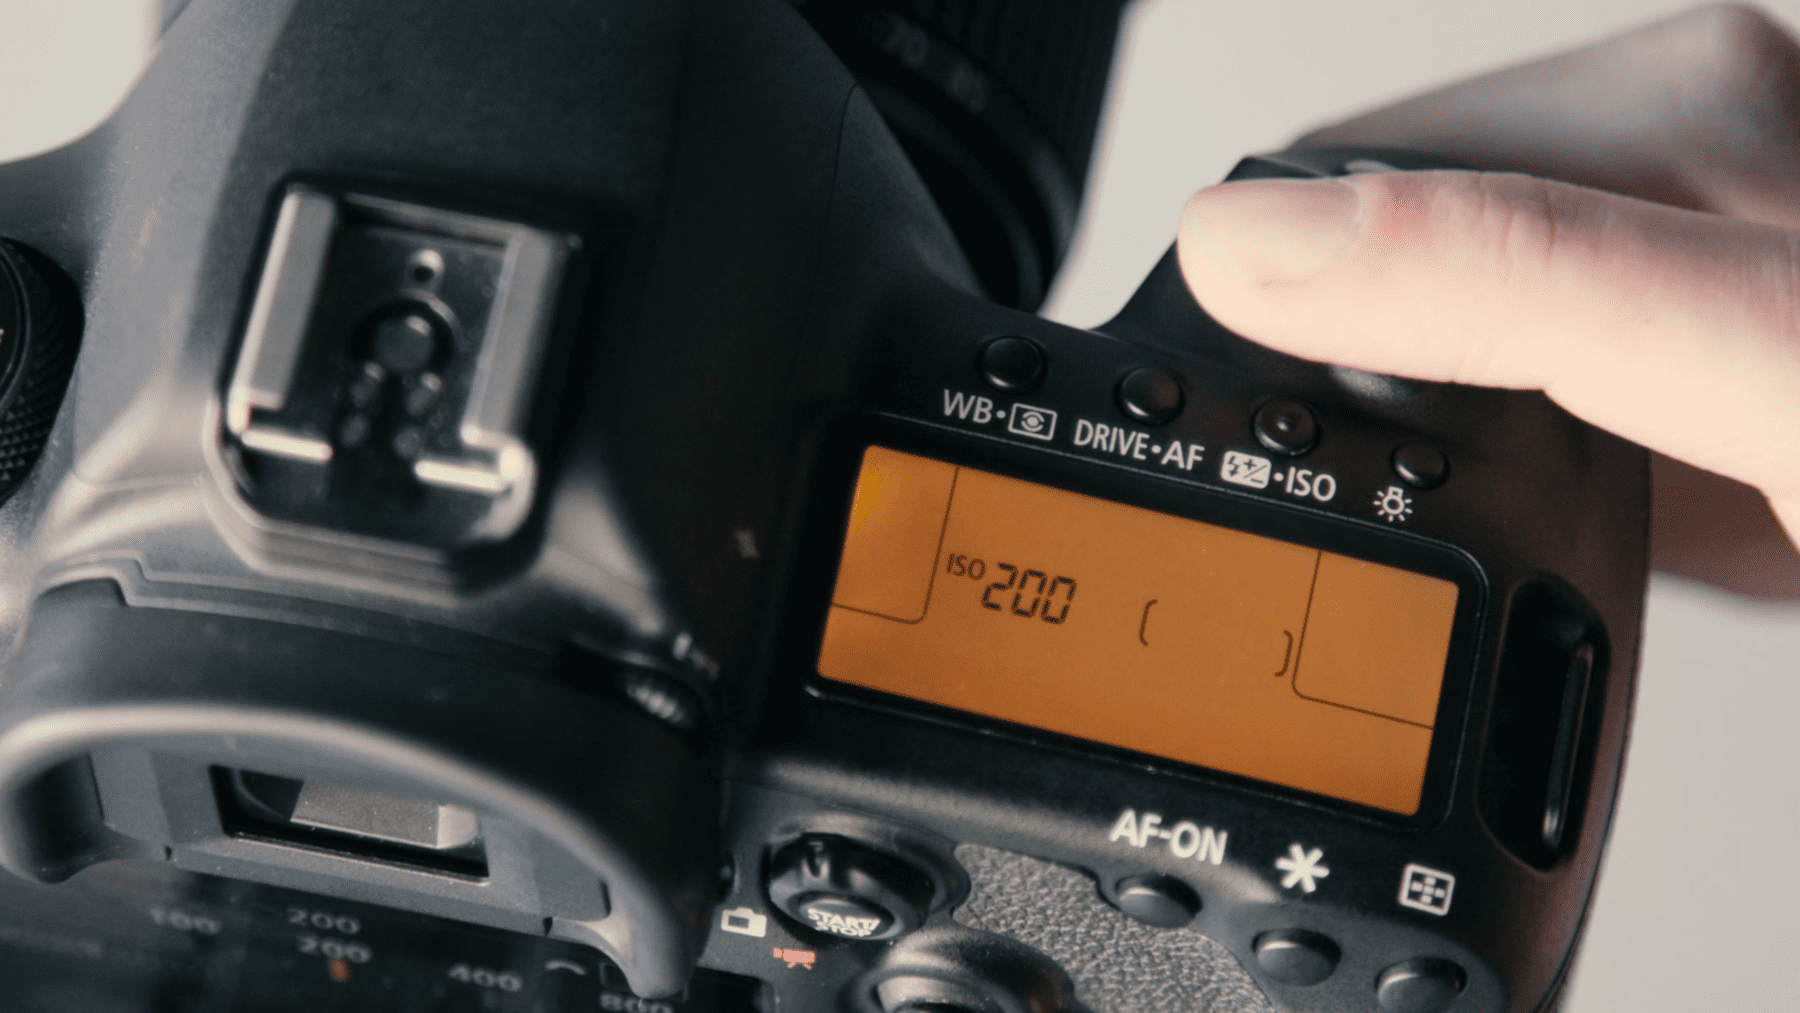
This is because sometimes, in a dark environment, you may need to raise the ISO value (light sensitivity) in order to capture a good picture. But this will mean that your image will have more noise in it the higher you put your ISO value. So, in photography and videography, it’s always a balancing act of finding the lowest ISO value that gives you a bright image but doesn’t introduce too much noise.
Cameras that have a wide ISO range, also tend to have cleaner images at higher ISO values. They also usually cost more. There are also some cameras that have dual-native ISOs – which means that they have 2 ISO values that give a totally clean image (usually one low ISO and one high ISO). These types of cameras are also more expensive.
Unfortunately, for most entry-level budget cameras, you won’t have a ton of choice in terms of ISO performance. So, this information is more important for you to know when you’re taking pictures since most cameras in the budget range will have similar ISO performance.
For most beginners, entry-level cameras with the same sensor size will have similar ISO performance. So, it’s not as important of an issue until you move up to more expensive cameras.
d. Autofocus
For most amateur photographers, you’ll be relying on your camera body’s autofocus to make sure that your shots are in focus and not blurry. Most camera manufacturers talk about how many autofocus points the camera’s body has to track the subject. So, what’s important to know for choosing your first beginner mirrorless camera?
The more autofocus points a camera has, the better it will be at tracking your subject in the photo and making sure they’re in focus properly.
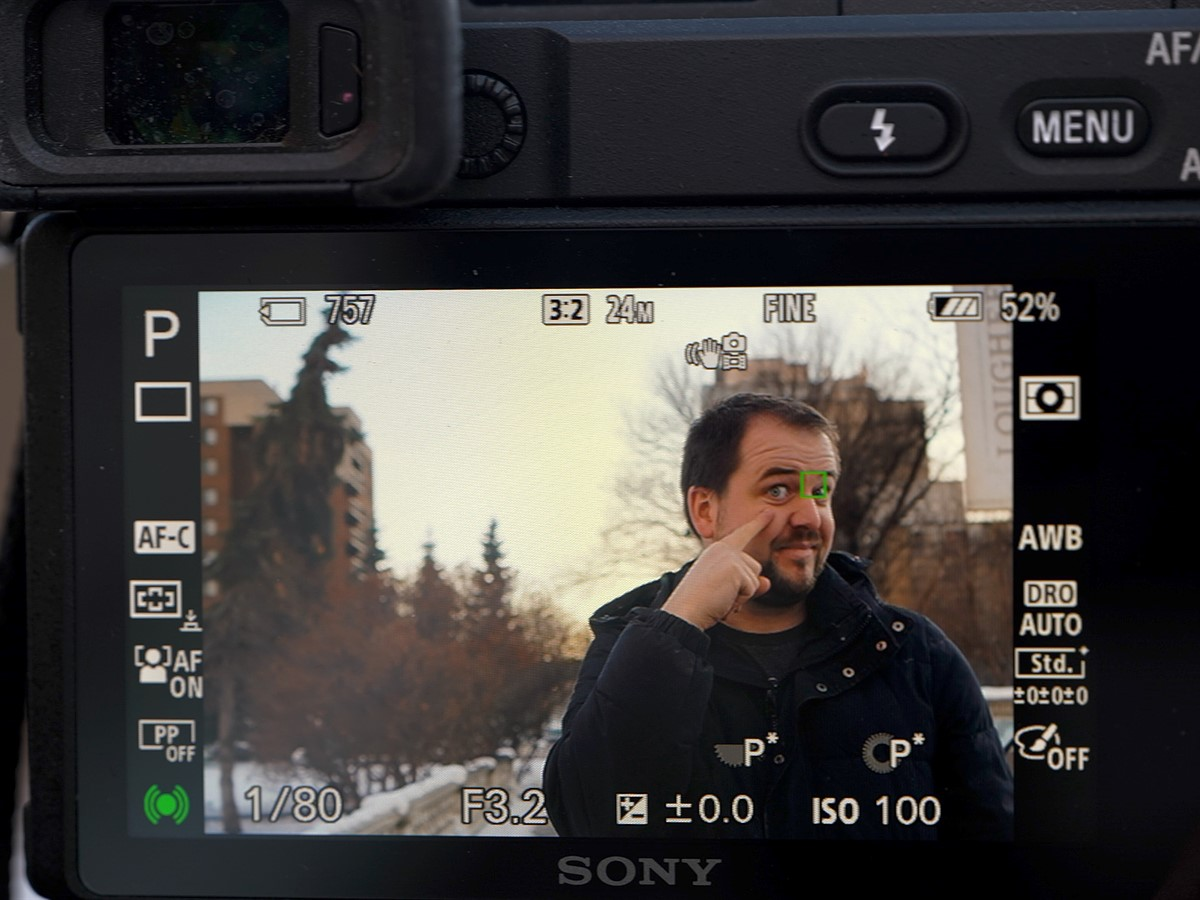
Some cameras also have eye autofocus, which automatically makes sure that the subject’s eyes are in focus – which can be really handy. Usually, the more fancy autofocus systems cost more. The most basic autofocus systems start at around 9 autofocus points, and the more professional autofocus systems can have hundreds of autofocus points with Artificial Intelligence systems to make sure that the camera can track things properly. The more complex the autofocus system, the more expensive the camera will be, but also the better the focus in your shots and videos.
For most beginners, I’d recommend an autofocus system with at least 100 autofocus points and basic eye autofocus capabilities.
e. Video Resolution
Most cameras today either capture Full HD (FHD) video (which is also called 1080p), or 4K video (sometimes called Ultra HD or UHD). 4K video is obviously better and bigger than 1080p. For most people doing hobby videography, 1080p can be enough – especially if you’re just putting them online or keeping them personally on your phone or PC. They also will take up less space on your computer in 1080p than 4K. Video files can get very large!
However, please note, that similar to having more megapixels, just because your camera takes 4K video does not necessarily mean your videos will automatically look amazing. As we’ll cover next, the quality of your images and videos also has a lot more to do with the lenses you are using. Good audio quality is also very important for video. So, investing in a camera mic may be something to look into later if you want to do more video work.
For most beginners, I’d recommend a camera body with at least basic 4K video capabilities so that you don’t feel like you have outgrown it too quickly.
Other Camera Body Specs
Some other specifications you may see on camera bodies are:
- In-Body Stabilization – this is whether the camera body has an in-built stabilizer system that helps you get steady shots.
- Slow Motion – some cameras allow you to capture slow-motion video in 60p (x2 slower) and 120p (x5 slower).
- Flip-Out LCD Monitor – some cameras have a flip-out screen so you don’t have to hold the camera to your face to see the image. This can come in handy for shooting at unusual angles (such as low to the ground, etc).
- USB Live Streaming – this allows you to connect your camera to your computer via a USB cable to use it like a webcam. This can be a great way to get amazing quality on your ZOOM calls or other video live-streaming applications.
- Bluetooth & WiFi – some cameras have wireless capabilities that let you easily connect them wirelessly to your phone or PC to transfer videos and photos.
- Built-in Mic – a lot of cameras have a built-in mic. However, most are not very good quality – which is why investing in a good external mic for video work is recommended.
There are many other camera specs we could talk about, but these are the important ones for a beginner to understand.
Camera Brands and Recommendations
OK, great. Now that you understand the basics of camera bodies, what about all these different brands? Sony, Nikon, Canon, Pentax, Fuji, Olympus… where do I start and does it matter?
The truth is that nowadays, most of the major camera manufacturers (especially in the entry-level category) are going to be pretty similar. Generally speaking, within the beginner mirrorless camera price point (under $1000), you’re not going to see a huge quality difference between the major brands. So, I wouldn’t get super bogged down about camera brands.
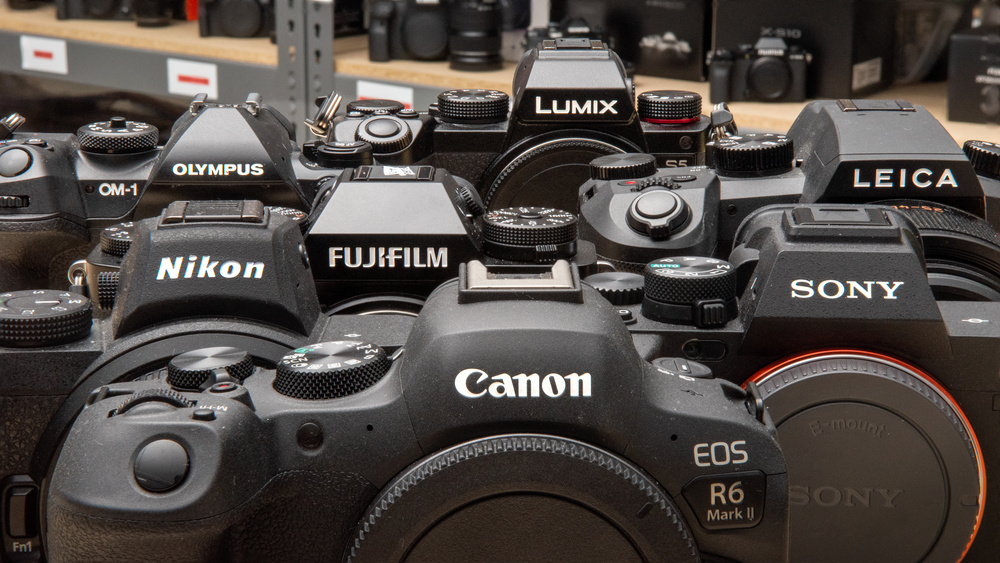
My main recommendation with brands is to stick with the major brands (Canon, Sony, Nikon) since they will have the most tutorials and resources available online for you to learn, the most variety of lenses and accessories for you to upgrade your kit, and the largest used gear market to find a good deal.
Also, if you have friends or family who have cameras, you may want to get a similar brand to them so that you can share gear and get advice from them. So, if you have a lot of friends with Sony cameras, you can easily share lenses and accessories with them if you also have a Sony. But you can’t easily share lenses between brands – like Nikon to Sony or Canon – without having to buy a lens adapter. Typically, if you want to switch camera brands later on, you’ll have to sell all your old gear to buy new stuff that’s compatible with the new brand.
Here are a few good camera bodies from the 3 top brands currently under $1000 to consider.
- Canon EOS M50 Mark II – around $800 CAN – popular YouTube & vlogging camera
- Canon EOS R100 – around $520 CAN – great budget option
- Sony A6100 – around $850 CAN
- Sony ZV-E10 – around $800 CAN – great for video & popular with YouTube content creators
- Nikon D3500 – around $820 CAN
- Nikon Z30 – around $765 CAN
There are of course other entry-level camera bodies that you could consider, so it helps to do a little shopping around. But, remember that there will always be newer models coming out on the market.
However, just because a camera body may not be the latest and greatest new thing doesn’t mean it’s not good. You can often get great deals on older model camera bodies on the used market (such as Facebook Marketplace). With the knowledge from what we covered above, you can make a good assessment of new or used models. Just make sure to ask about how old the camera is and what the shutter count is on it to know how used it is before you buy a used one. A used camera in good condition with a low shutter count is a great deal!
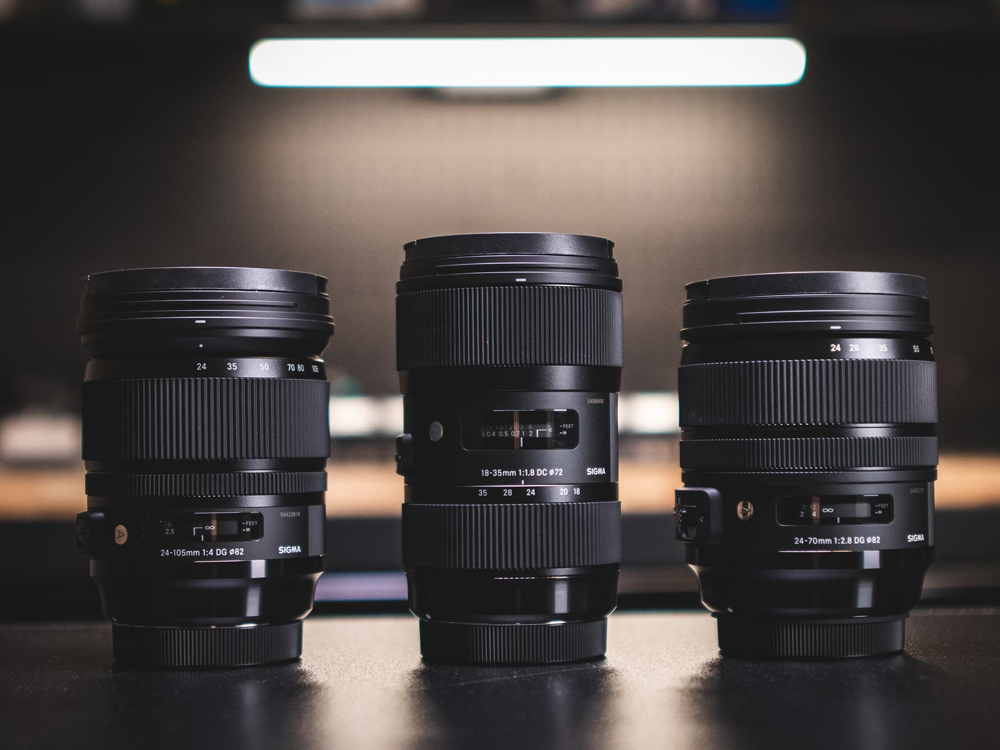
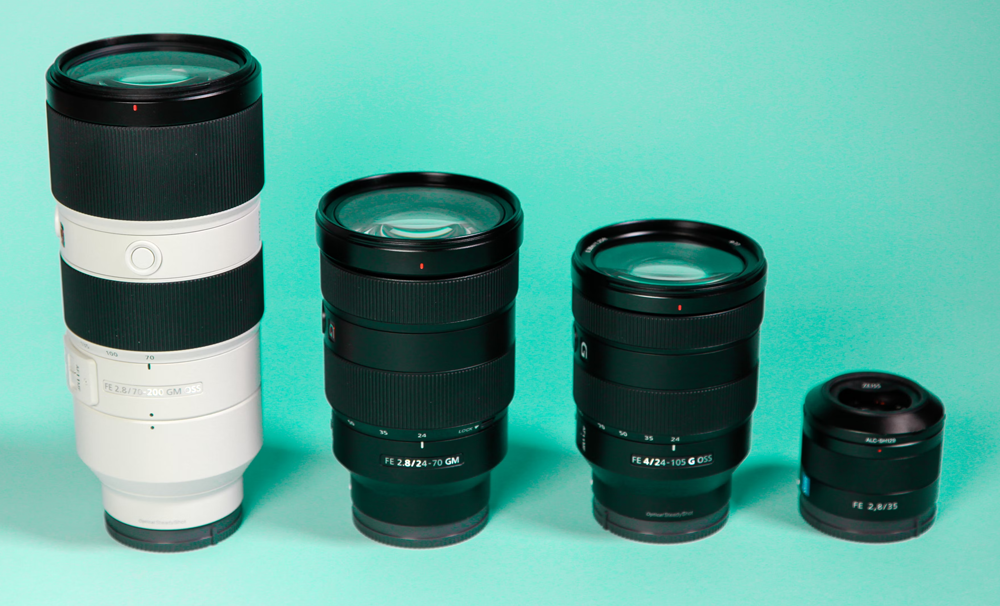
2. UNDERSTANDING CAMERA LENS SPECS
There is another really important thing to understand when choosing a beginner mirrorless camera – and that is that the lenses you use are the MOST IMPORTANT thing that will affect your image quality. If you have poor-quality glass, then you’ll have poor-quality images (no matter how many megapixels your camera body has). Think of it as if you had really good eye-sight, but then put shades on that were scratched, smudged and warped. Even though your natural eyesight is great, you would still see poor images. That’s how important lenses are to your camera! So in general, when you’re looking to upgrade your photo/video quality, you should consider upgrading your lenses before you upgrade your camera body.
There are 6 main things you should understand and consider when buying a camera lens: Focal Length, Aperture, Autofocus and Stabilization, Prime vs Zoom Lenses, Full-Frame vs APS-C, and Lens Mounts.
a. Focal Length (mm)
This is commonly called the “zoom length” by most amateurs. However, in “camera talk” it is referred to as the focal length of a lens and is usually written in terms of millimetres (mm). The bigger the number in mm, the more zoomed in the lens is, and the smaller the number the wider the angle of the image the lens captures.
Some lenses only have one focal length (also called prime or fixed focal length lenses), and other lenses have a range of focal lengths (also called zoom lenses). It is often written like “18–55mm” or something similar. We’ll cover more about prime vs zoom lenses later. There are 3 main categories of focal lengths:
- wide-angle lenses
- medium length lenses
- zoom or telephoto lenses
Wide-angle lenses fall within the range of 12mm to 24mm. These are great for taking shots of scenery and landscapes or interior shots of architecture or real estate since you can get a lot of the scene into your field of view.
Medium-length lenses are within the range of 35mm to 70mm. These are great for taking portraits of people as they give you a nice separation from the background while not being too close up for an uncomfortable shot. The sweet spot for medium-length lenses is 35mm (which looks like what we see naturally with our eyes) and 50mm which is the most popular portrait lens length.
Zoom or Telephoto lenses are lenses which have a focal length greater than 70mm. They can be as much as 200mm, 500mm and even higher! These are usually very big zoom lenses and are used for wildlife or sports photography where you cannot get close up to your subject physically. They are generally more expensive and bigger, but they also give a lot of separation between the subject and background.
For most beginners, I would recommend getting lenses that cover the wide and medium focal lengths, unless you know that you need to have a zoom or telephoto lens for taking shots of things far away.
b. Aperture (f-stop)
The aperture of a lens is usually written as a decimal number with an “F” in front of it like “F/2.8” or “F/3.5—5.6”, known as an F-stop number. The aperture of a lens is simply how big or small the hole is that lets light through. Think of it as the pupil of the eye of the lens. The more dilated (larger) the pupil (aperture) is, the more light it lets in. The more constricted (smaller) the pupil (aperture) of the lens, the less light it lets in.
The lower the F-stop number, the wider the hole that lets light in on the lens. The higher the F-stop number, the less light the lens lets in. So, think of it as the F-stop number is inverse to the size of the lens’s pupil. In photography and videography, you want to have the most amount of light let into your camera’s sensor for the best quality image.
Also, lower F-stops also make the background blur more and higher F-stop values make more of the background in focus. So, if you want the most blurry background effect, you should use the lowest F-stop value you can. If you want more of your photo in focus, you should use a higher F-stop value.
Generally speaking, lenses with lower F-stop values (f/2.8 or lower) are the most expensive but also the highest quality lenses you can buy, while most cheaper lenses tend to have higher F-stop values (greater than f/4), particularly with budget zoom lenses.
Unfortunately, the truth is that most entry-level zoom lenses will not have low f-stop capabilities due to the cost of producing those lenses. However, you may be able to get entry-level prime lenses with low f-stop capabilities.
For most beginners, I recommend getting the lowest F-stop value lens you can afford that fits your other needs (zoom and stabilization).
c. Autofocus and Stabilization (steady shot)
A lot of lenses have autofocus motors built in – which means that they can make use of your camera body’s autofocusing system to track your subjects. However, some lenses do not have autofocusing motors. They are called manual focus lenses and you have to manually focus the lens using their focus ring. A lot of video lenses are manual focus lenses since it allows for a more natural focus pull effect doing it by hand which looks great in video. However, most beginners and amateurs prefer to have autofocus for ease of use.
Some lenses have in-built stabilization technology which helps to keep the image steady even if you have some minor hand-shake. This is really handy if you shoot a lot of photos or videos handheld without a tripod and can make the difference between getting a shaky shot versus a smooth shot. This feature is also called Optical Stabilization, Steady Shot, or other similar terms depending on the camera manufacturer.
For most beginners, I’d recommend getting lenses with autofocus since it can be turned on and off as needed. If you can get a lens with stabilization also, that’s a nice bonus.
d. Prime vs Zoom lenses
All interchangeable lenses fall into one of two categories: prime or zoom lenses.
A prime lens is also known as a fixed focal length lens, and as the name implies, it only has one focal length and cannot zoom. A zoom lens has a range of focal lengths that it can “zoom” in and out of making it more versatile. So, why would anyone ever get a prime lens then?
Physics of course!
This is because most prime lenses give a superior image quality compared to zoom lenses at the same focal length. This has to do with physics and other sorts of “sciencey” stuff. But the easiest way to think of it is as specialization.
Because a prime lens is specialized, it is very good at doing that one thing. A zoom lens has to try to do many things and as a result, may do them all but cannot do all of them as well as a lens that specializes in that one focal length. This is why a lot of budget zoom lenses have differing apertures (f-stop numbers) depending on how zoomed in or out they are. It’s a lot harder to manufacture a lens at a consistent F-stop for a whole range of focal lengths than it is to do that for a lens that only has one focal length.
Prime lenses tend to have a larger aperture and let in a lot more light – making them great for low light and portrait photography due to their high depth of field (blurry background effect). Zoom lenses give you more flexibility with a range of focal lengths you can zoom in and out of.
For most beginners, I recommend getting at least one 50mm or 35mm prime lens for their kit together with a wide to medium-length zoom lens for the most versatility.
e. Full-Frame vs APS-C Lenses
Because there are different sensor sizes, there are also different lenses for the different-sized sensors. Full-frame sensors are the largest and you must use full-frame lenses on cameras with a full-frame sensor. Full-frame lenses are also the most expensive because they cover the most area on the sensor.
Crop-sensor (APS-C) cameras have the advantage of being able to use both full-frame and APS-C type lenses. A full-frame lens on a crop-sensor camera will just cover more than the area of the smaller APS-C sensor – which means that the image will be slightly zoomed in on the lens. This can sometimes be an advantage since using a full-frame lens on an APS-C camera will give you a little more “reach” out of your zoom lens. However, APS-C lenses usually are a lot cheaper than full-frame lenses. So, you can usually get more bang for your buck with APS-C lenses as a beginner.
If you start off on a crop-sensor camera body and then later upgrade to a full-frame camera, you’ll have to sell and upgrade all your APS-C lenses to full-frame ones. When buying lenses, look at their product description to see if they are full-frame or APS-C lenses.
For most beginners, I recommend getting APS-C zoom lenses and full-frame prime lenses.
f. Lens Mounts
The brand of lens you buy is going to be mainly determined by the brand of camera body you own. This is because lenses and camera bodies have particular mounting systems that allow them to connect and “talk” to each other.
So, if you have a Sony camera body, you’ll be looking for Sony lenses. And if you have a Canon body, you’ll look at Canon lenses, etc. However, there are other third-party manufacturers that make lenses for different camera body brands. For example, Tamron and Sigma make lenses for Canon and Sony bodies. Sometimes you can get some great budget lenses from these third-party manufacturers for your camera body that are cheaper than the manufacturer-made lenses and comparable quality.
The important thing to look at when buying lenses is what lens mount type your camera body uses to ensure that the lens is compatible with your camera.
Here are the main lens mount types:
- Canon uses EF mount (they have 4 versions: EF, EF-S, EF-M, and EF-R – which will sometimes need a separate adapter to work between different camera mounts)
- Sony uses E mount
- Nikon uses Z mount
So, you can buy a lens from a third-party manufacturer for your camera body if it has the correct lens mount type. For example, you can buy a Sigma lens for your Sony camera body if the Sigma lens has an E-mount.
Make sure to double-check the type of lens mount that is compatible with your camera body before you buy a lens.
Beginner Budget Lens Recommendations
For most beginners, the three lens types you want to get in order of priority are:
- a good wide to medium zoom lens (also called a kit lens)
- a good prime lens for portraits
- a good zoom or telephoto lens for distance shots
The first lens you should get is your kit lens since it will cover the most commonly used focal ranges. This most likely will be the lens that is on your camera the most and which you use the most. So, it’s worth trying to get the best quality kit lens you can afford. Most entry-level cameras have package deals with a budget kit lens nowadays. The focal length range of a kit lens is usually between 18—50mm. Most beginner kit lenses have an aperture of f/3.5 at the widest focal length and f/5.6 at the most zoomed-in. They usually don’t have a consistent aperture throughout their entire zoom range as that’s something that more expensive zoom lenses have. Higher quality (and more expensive) kit lenses will usually have a consistent aperture of f/2.8 for their entire zoom range.
The second lens I’d recommend is a good prime lens such as a 50mm f/1.8 or a 35mm f/1.8 lens. This is usually a very affordable lens and will be one of your favourite lenses for taking pictures of people because of the sharpness, brightness and depth of field effect that it will give you. Also, most prime lenses tend to be full-frame lenses – which means that you can use them on crop and full-frame sensor cameras. Budget prime lenses tend to be f/1.8, whereas professional prime lenses are f/1.2 or f/1.4.
The third lens I usually recommend is a good zoom or telephoto lens for distance shots – something in the range of 50—150mm or more. This will give you a nice zoom to get shots of birds or wildlife or of sporting events. Most of these budget telephoto lenses will also have an aperture range of f/3.5—5.6 and more expensive ones will have a consistent aperture of f/2.8.
With these 3 types of lenses, you’ll have a lot of flexibility to experiment and grow as a photographer or videographer with room to upgrade later if needed.
Sony, Canon and Nikon all have good entry-level lenses in these 3 categories. Here are the entry-level budget lenses for these 3 types of lenses in each brand:
- Canon EF-S 18-55mm f/3.5-5.6 IS STM Lens (kit lens)
- Canon EF 50mm f/1.8 STM Lens (prime lens)
- Canon EF 75-300mm f/4-5.6 III Telephoto Zoom Lens (zoom lens)
**Please Note: If you buy a Canon camera with an EF-M mount (like the Canon M50 below), you will need to purchase a lens mount adapter to use EF and EF-S type lenses. However, this will open up the amount of lenses available to you, so it may be something to consider.**
- Sony E PZ 16-50mm f/3.5-5.6 OSS Lens (kit lens)
- Sony Fe 50mm F1.8 Lens or Tamron 35mm f/2.8 Di III OSD M1:2 Lens (prime lens)
- Sony E 55-210mm f/4.5-6.3 OSS Lens (zoom lens)
- NIKON AF-P DX NIKKOR 18-55mm f/3.5-5.6G VR Lens (kit lens)
- Nikon 50mm f/1.8G AF-S NIKKOR FX Lens (prime lens)
- Nikon AF-P DX NIKKOR 70-300mm f/4.5-6.3G ED VR Lens (zoom lens)
These will not be the best quality lenses but will get you started as you begin to learn about the world of interchangeable lens cameras. You’ll probably outgrow these lenses, but it’s good to start off with budget lenses before you decide on whether you want to invest more in this passion or not. You can always resell lenses on the used market and make back some of your money.
3. MY TOP CHOICES AND BUNDLE DEALS
While you can choose any entry-level camera and lens package and start learning, I do have my own preferences for a beginner mirrorless camera (or DSLR). I’ve mainly shot on Sony and Canon camera systems, so it’s what I know best and what I generally recommend to others. (Nikon is also great, but I’m just not as personally familiar with them) Typically, for beginners, Canon will be more budget-friendly. However, Sony usually has some extra features that Canon doesn’t for the extra price.
Remember that along with buying a camera body and lens, you’ll probably also need to buy extra batteries, a carrying case, a tripod, memory cards and some cleaning supplies. So, the starter bundle kits are a great way to get some of those things for a deal.
Here are my personal recommendations for a beginner for their first camera bundle under $1000.
a. Canon Beginner Budget Photo Bundle (approx. $700)
While the budget Canon cameras lack some of the features of other cameras, they’re good enough to get you started with something basic. Even though this is not a mirrorless camera (it is a DSLR camera), this is what I’d choose for the tightest budget option.
This bundle gives you everything you need to get started: batteries, memory cards, a kit lens, a tripod, cleaning supplies, a carrying case, as well as lens attachments and filters. But, most of the items in this kit are cheap and low quality. The included wide-angle and telephoto lens attachments are very low quality and will not give great results – but might be OK for hobby photography. However, if you’re on a budget, there aren’t many other kits that give you this much for under $700. You can also use that extra money to buy a Canon EF 50mm f/1.8 STM Lens for taking some nice portraits or a Canon EF 75-300mm f/4-5.6 III Telephoto Zoom Lens for distance shots.
The Canon Rebel T7 is a very basic starter camera and does not have great video capabilities. But it would be fine for taking hobby photos and some basic 1080p videos. You may find that you might outgrow this camera quicker than the other two recommendations below.
**Also note: The Canon EOS 2000D / Rebel T7 has an EF mount and will be compatible with those lenses without an adapter.
b. Canon Beginner Photo & Video Bundle (approx. $1000)

If you can swing a little more in your budget, I’d recommend the Canon M50 instead of the T7 due to its better video capabilities and more advanced features. This has been one of Canon’s best-selling budget cameras for YouTubers and content creators for a good reason. It would make for an excellent beginner mirrorless camera!
This bundle gives you a similar kit to the previous one to get started. However, for the extra money you get a better camera body with more features, better 4K video quality, a flip-screen monitor, and a wider lens. This would be a better choice if you want to do more video content for a personal YouTube channel as the flip-screen monitor would allow you to see yourself as your film. Also, you can use the Canon M50 as a webcam with a USB cable and the Canon Webcam Software to make your ZOOM calls and live streams look high quality.
**IMPORTANT: The Canon EOS M50 has an EF-M mount. So, it will be natively compatible with EF-M lenses. However, the Canon M50 will require an additional adapter to use EF and EF-S lenses. See below for some adapter choices.
EF-M Mount Adapters
To use Canon EF and EF-S lenses on the Canon M50, you will have to purchase a separate EF-M Mount Adapter. They are pretty inexpensive and here are a few options:
- Canon EF-M Lens Adapter Kit – (approx. $150) This is the most expensive option, but it is also the only lens adapter that Canon guarantees will work with all their lenses (because they made it). However, many of the third-party lens adapters below also work well, though they’re not guaranteed by Canon.
- Viltrox EF-EOS M Lens Adapter – (approx. $55) This is one of the best-rated non-Canon brand adapters and has great reviews. It provides auto-focus and aperture control, plus has built-in Image Stabilization – which helps with getting clearer photos when hand-held. This can be a great advantage if you’re using a lens without stabilization and also double the stabilization on a lens that already has it. They also have a more expensive x0.71 speed-booster version (approx. $238) that allows you to take advantage of full-frame lenses and get better aperture to let more light in – which could be really useful in low-light situations. The speed-booster version does not have image stabilization though.
- Commlite CM-EF-EOS M Electronic Auto-Focus Lens Mount Adapter – (approx. $53) This is another popular option that provides autofocus and aperture control. It also has great reviews.
- NEEWER EF to EOS M Mount Adapter – (approx. $49) This is one of the cheapest options for an EF-M Mount adapter. It provides basic autofocus and aperture control. However, BEWARE! This adapter has some bad reviews – so I would highly recommend against it and it doesn’t save you much money.
Personally, if I were buying an adapter for the M50 (or similar camera), I’d choose the Viltrox since it also gives image stabilization and is a good deal compared to the Canon adapter. If you choose a non-Canon brand adapter, I’d just do a little research to see if it has any issues with the lenses you’re considering using it for and read some of the comments on Amazon to see what other users’ experiences have been with the adapter you choose.
c. Sony Beginner Photo & Video Bundle (approx. $1200)
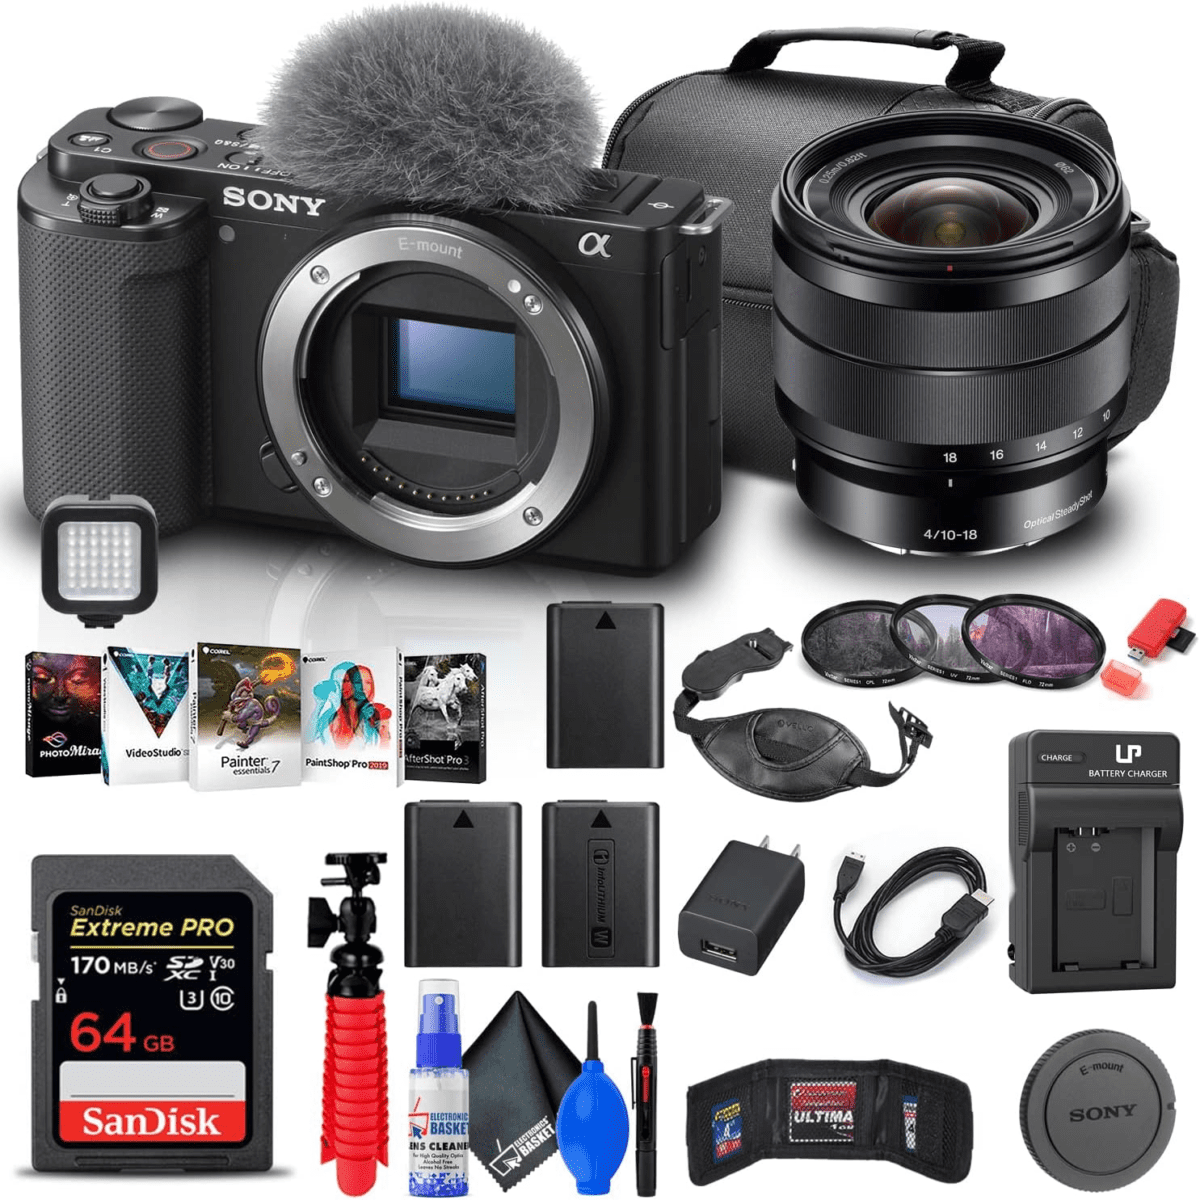
Sony is not the cheapest option, but they are leading the industry in terms of quality and innovation in my opinion. Especially when it comes to video, Sony has been leading Canon for a while now with their hybrid mirrorless cameras and the Sony ZV-E10 is one of the top choices for many YouTube content creators and vloggers.
This bundle gives you all the basics you need to get started: memory card, batteries, filters, cleaning kit, etc. However, it doesn’t have as many accessories as the Canon bundles (such as a tripod). But Sony’s autofocus and video capabilities are better than Canon’s, the built-in mic is decent quality, the body design is slimmer, and if you’re looking to get into the Sony mirrorless ecosystem, this might be a good starter option. You can also use the Sony ZV-E10 as a webcam through USB with the Sony Webcam Software.
So, if you’re looking for the best bang-for-the-buck budget option and don’t have a preference with regards to brand, then the Canons may be the best for you. But, if you would like to be in the Sony ecosystem of cameras, then the Sony ZV-E10 is a great choice!
As time goes on, there will inevitably be newer and better cameras to choose from than the ones listed here. However, with the information above, you should be able to navigate all the specs and make the right choice for yourself.
If you’re looking for some more great accessory ideas to go along with your new camera, you can check out this article for some budget video accessories.
4. HOW DO I USE MY NEW CAMERA?
OK, great. So you’ve purchased your new camera. Now how do you use it?
There are a lot of great free tutorials available on YouTube to help you understand more about your camera and improve your photography. Here is a great quick tutorial by David Manning on the basics of photography to help you get started with using your new camera!
For a more in-depth free beginner course, check out this 7-hour course by Tony & Chelsea Northrup. They give some amazing beginner info and training for free here, and it’s well worth it to help you learn how to get the most out of your camera.
If you found this article helpful, please consider sharing it around so that others can benefit.
Thanks!
